Oops – I thought it had been 2-3 weeks since I’d posted, but it’s actually more like 6 weeks. Apologies to my legions of fans! I haven’t been idle, just doing a lot of boring fiddly stuff that doesn’t make for compelling content.
Meshing
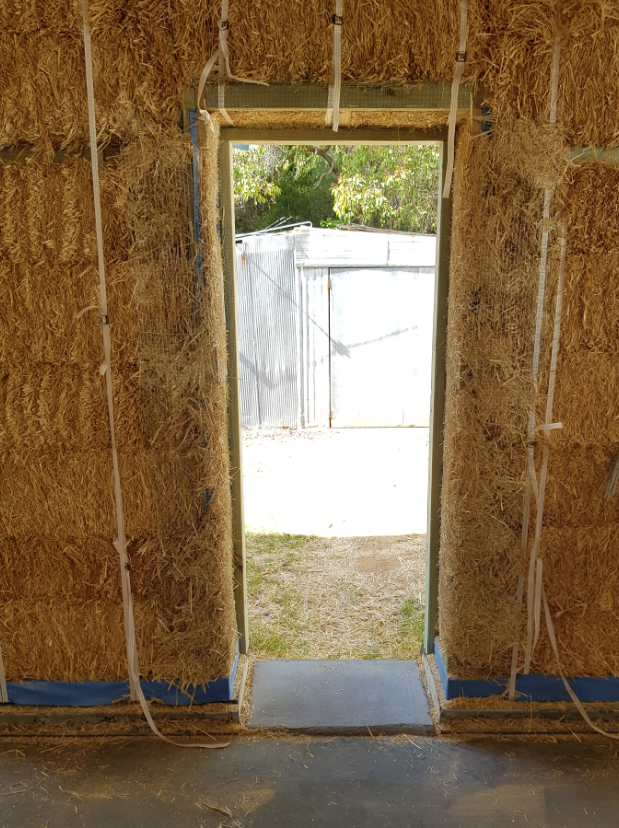
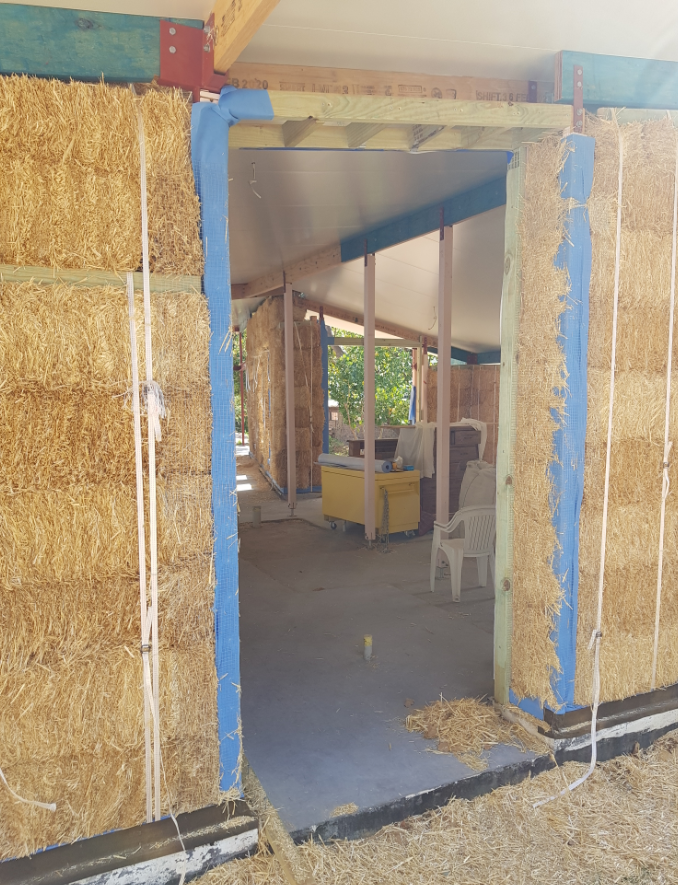
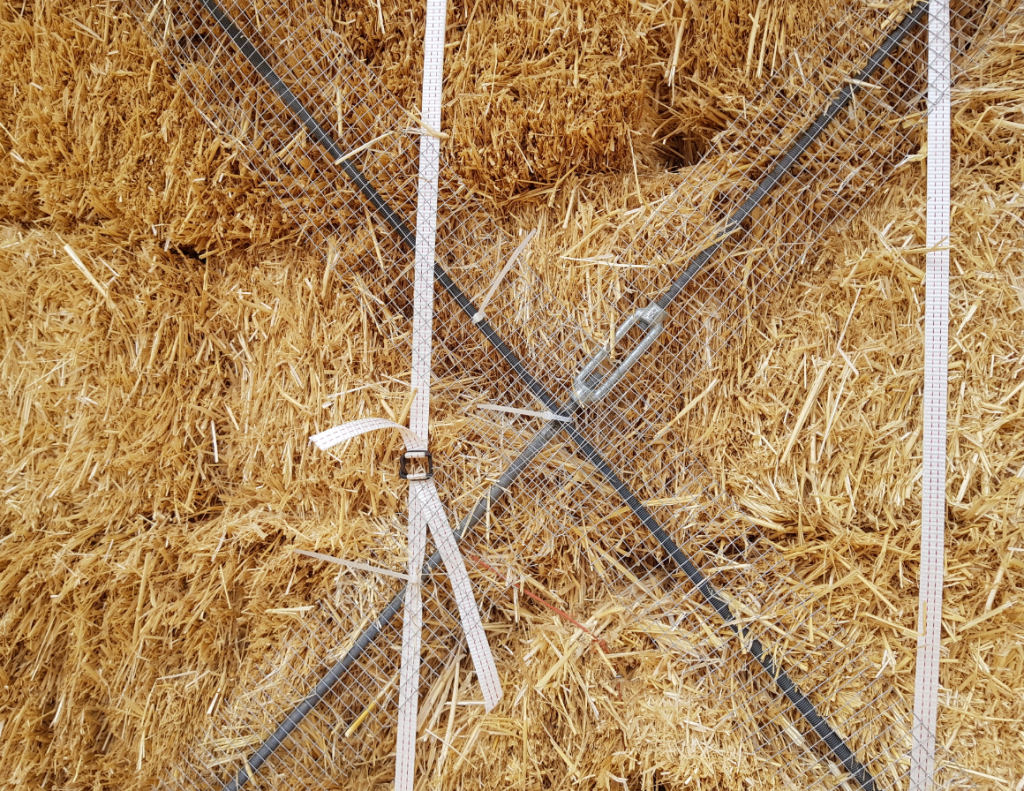
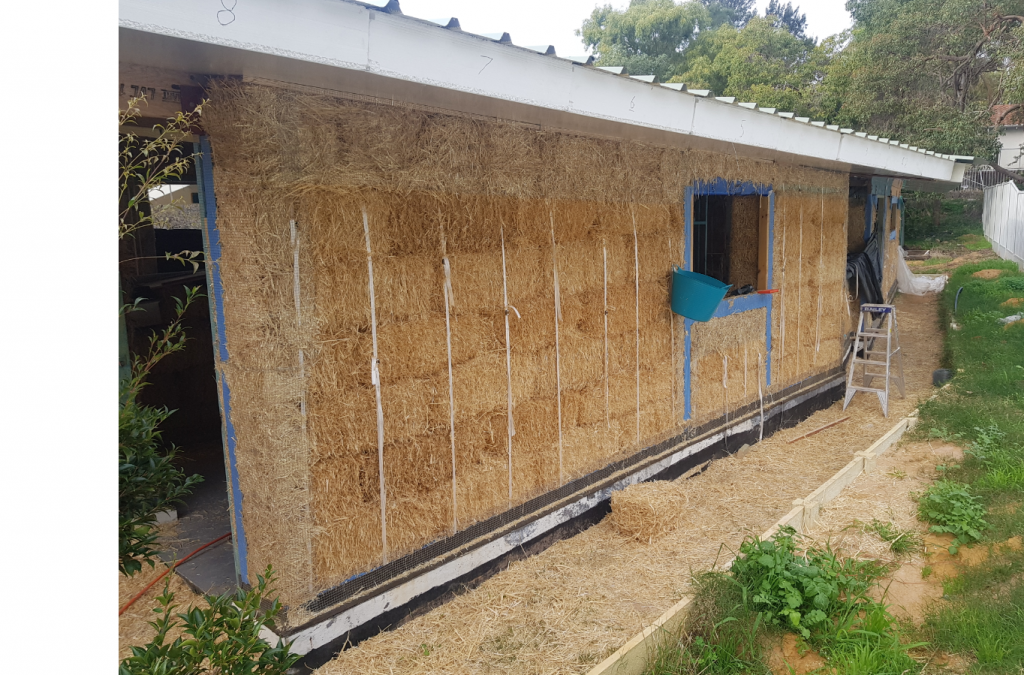
Meshing, meshing and so much more meshing. I didn’t appreciate how easy the shed was with its lack of windows and doors.
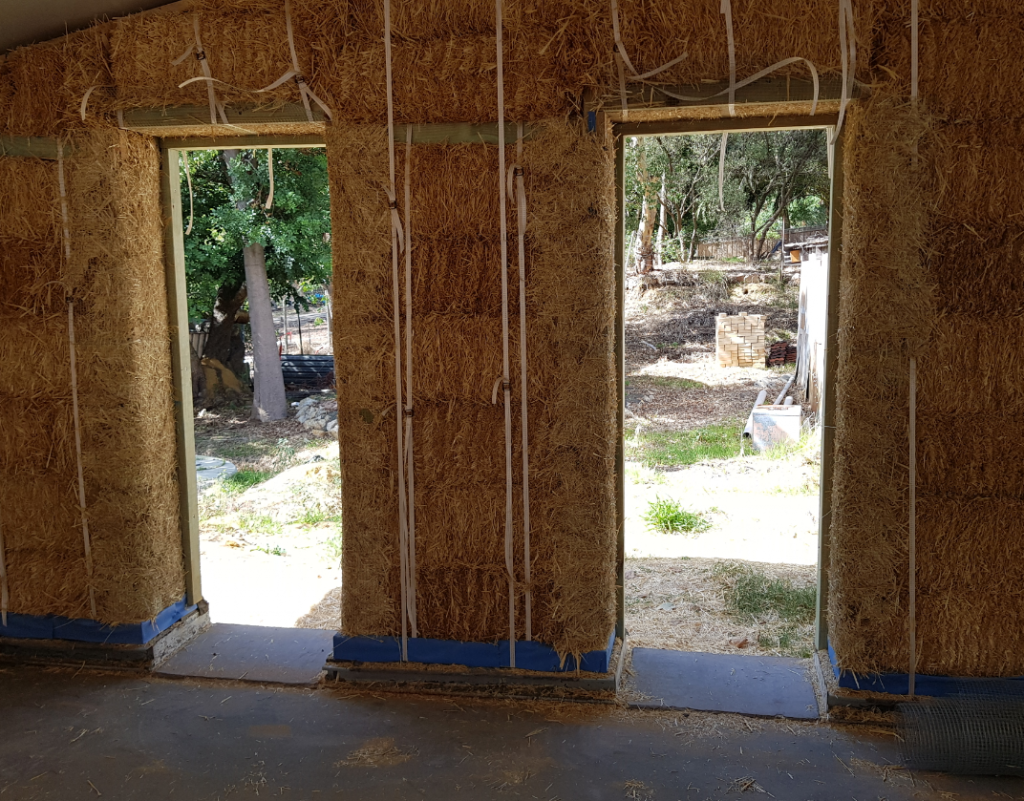
Extra bits of random framing, over doors etc:
Big rolls of narrow strips of mesh:
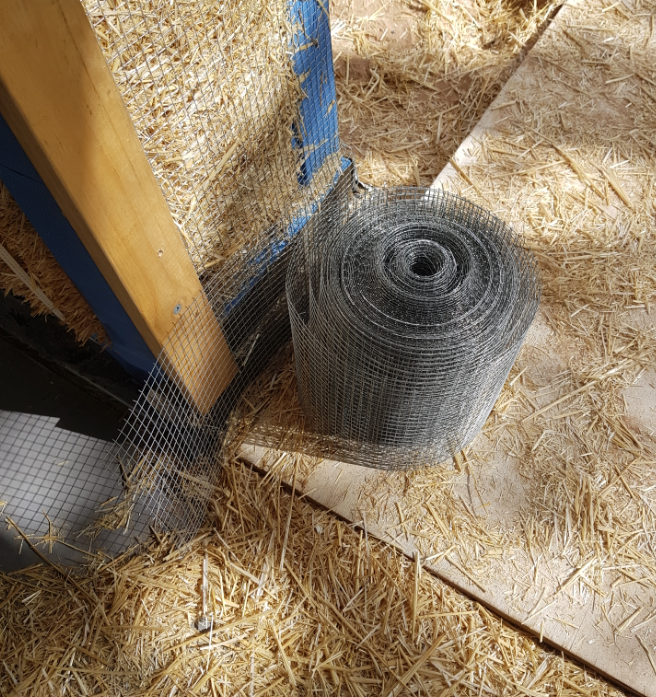
I made these rolls by putting a ridiculously large wheel on my angle grinder, and just slicing sections off a larger roll of mesh – most of the time I need one of a few different widths:
- 150mm for covering the bottom ladder, cross bars and random other narrow things
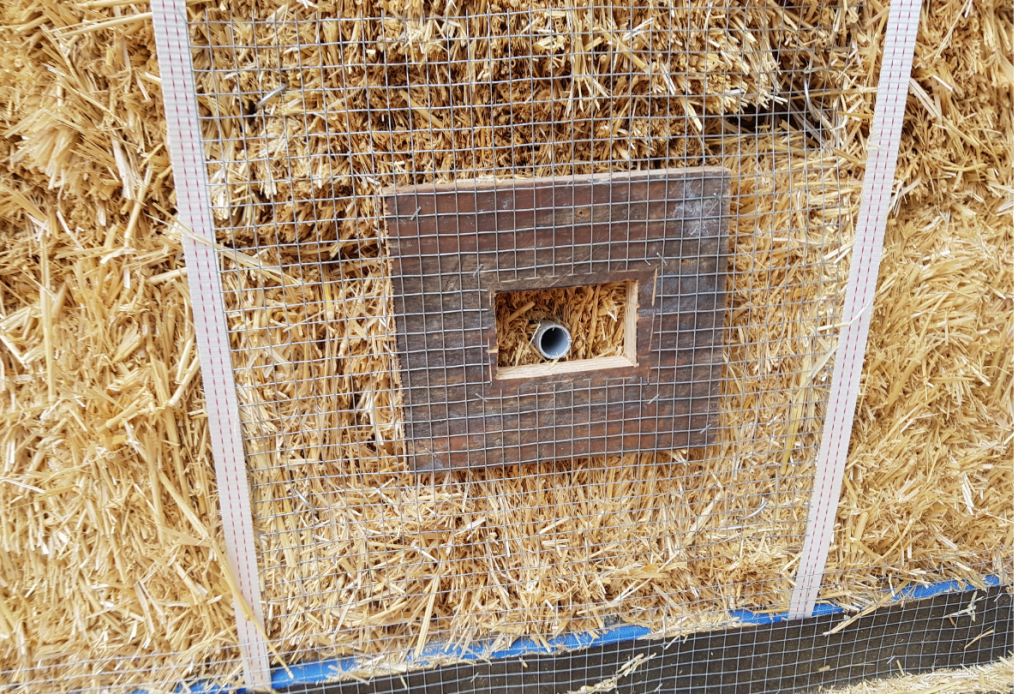
- 200mm for covering a post with straw on one side (eg. window frames)
- 300mm for covering a post with straw on both sides
- 400-600mm for bigger sheets, particularly for the ‘skirt’ sections coming down off the roof.
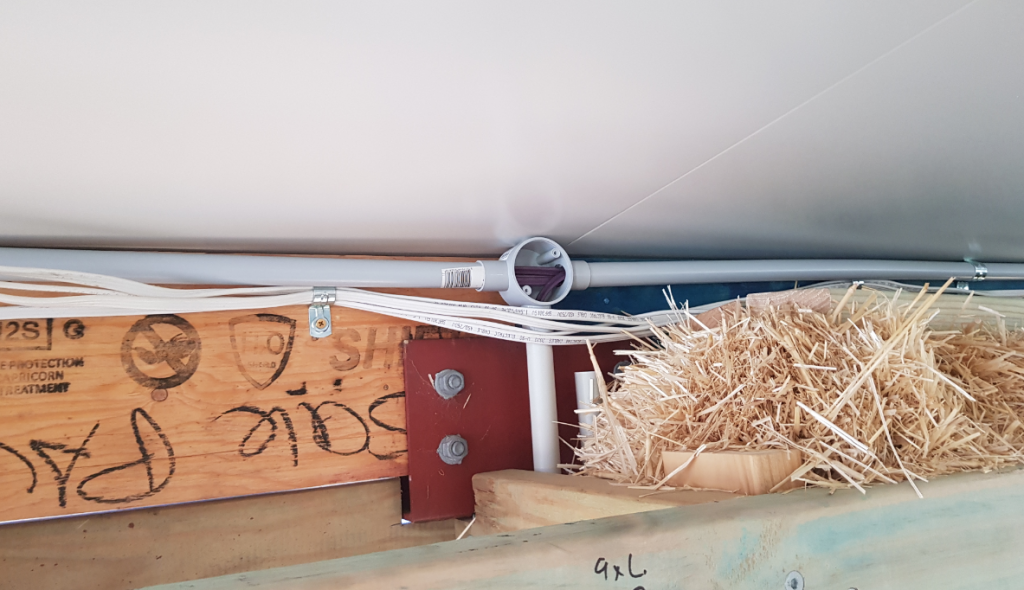
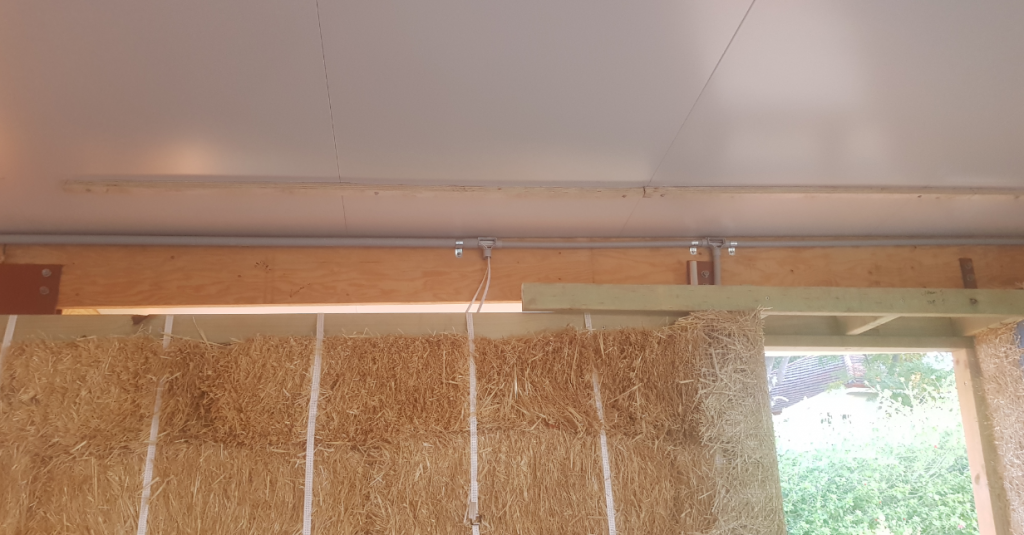
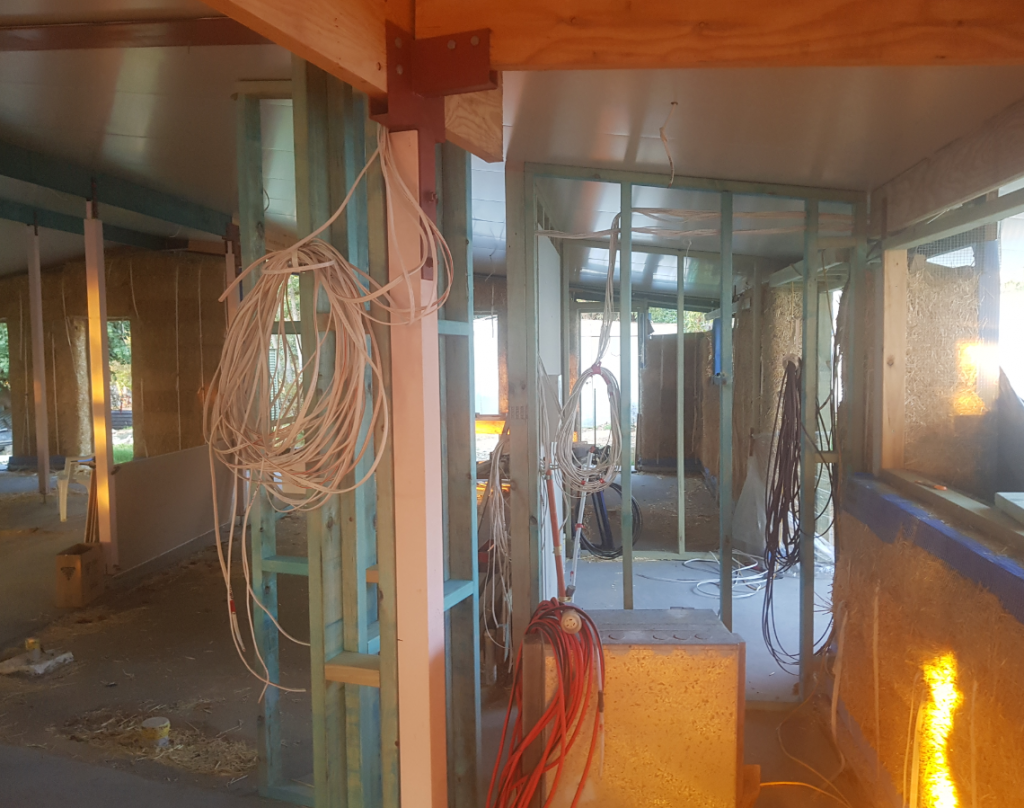
Wiring!
Before I could finish the tops of the walls, I needed to run the majority of the electrical and network wiring. The space above the top plates makes for a convenient space to run cables, so with a nice big roll of CAT6 and a lot of conduit, I started putting in the bare minimum for a geek’s house. 🙂
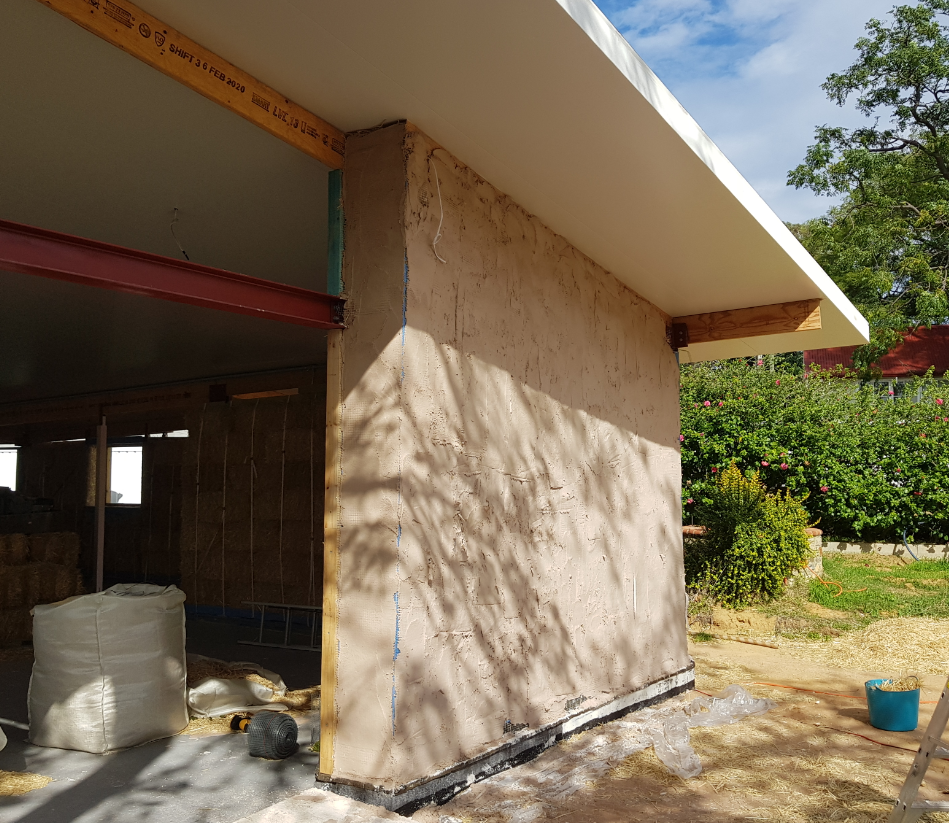
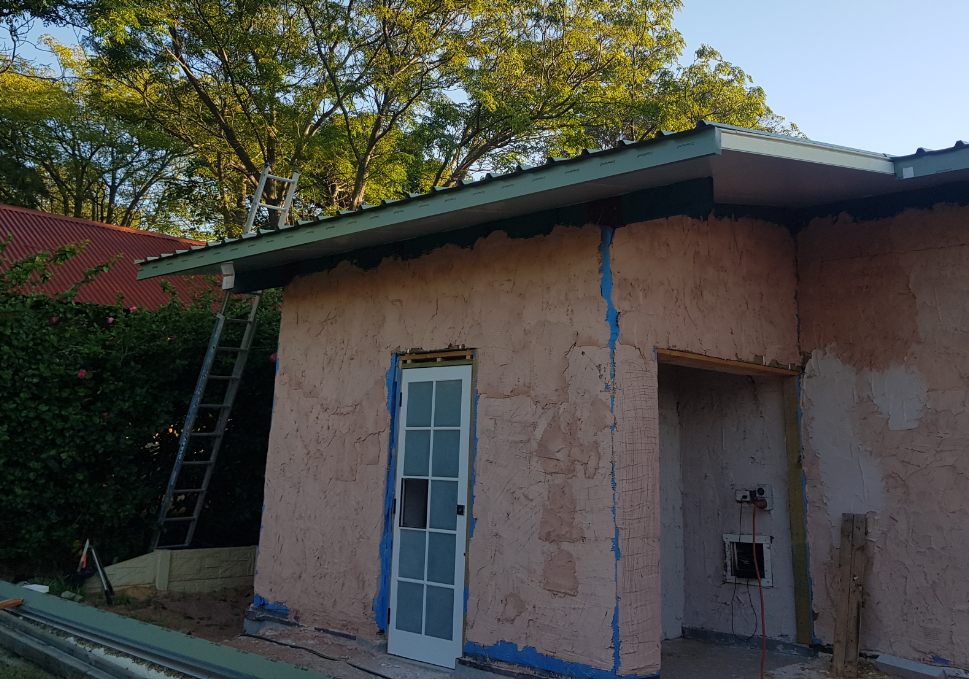
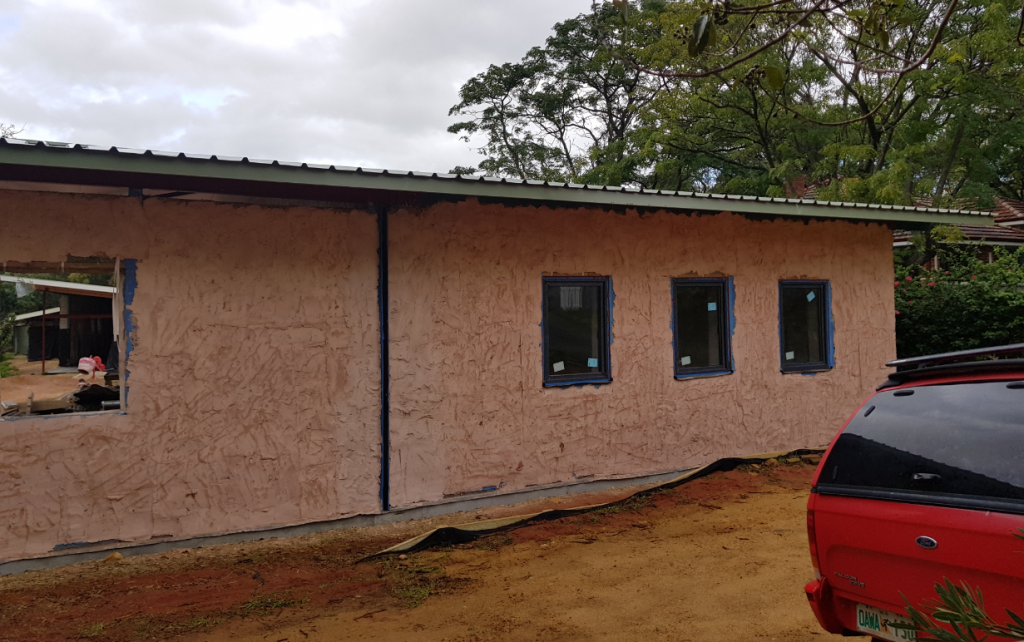
Rendering!
With some pleasant weather and a couple of walls with all their wiring in them, I dragged another bale builder over and we did a spot of rendering:

….and then back to meshing:
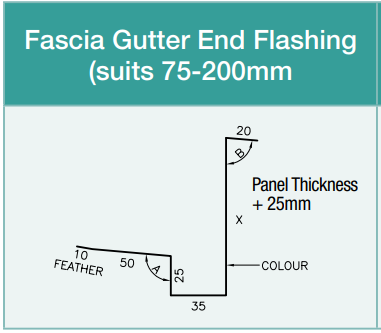
Roof flashings…
Meanwhile I realised I needed to get the flashings on the house roof – one undocumented feature of the solarspan roofing in a skillion configuration is that the upper edge isn’t waterproof without its top flashing on. It looks like water can get into the exposed joins in the panels, run down the join and then drip down at some random point. Not really what you want in a straw house, but thankfully the drips were all in the open rooms.
Before I ordered the house flashings though, I wanted to finally install the shed flashings to make sure I hadn’t made any stupid mistakes with measurements. So, back to working on the shed for the first time in a while…
The bargeboards turned out to be a real pain in the ass – the profile looks like this:
but this leaves the holes under the roof skin exposed and that’s a Bad Thing as far as BAL compliance goes. The Bondor solution to this is to get another flat sheet of colorbond, cut the profile of the ridges into it, attach that behind the vertical section of the above profile and then mount the combined thing onto the end of the panels.
The only saving grace was that the whole mess was rigid enough to not fold over at the drop of a hat, so a combination of two people and a lot of clamps was enough to hold each section while I riveted it to the roof skin.
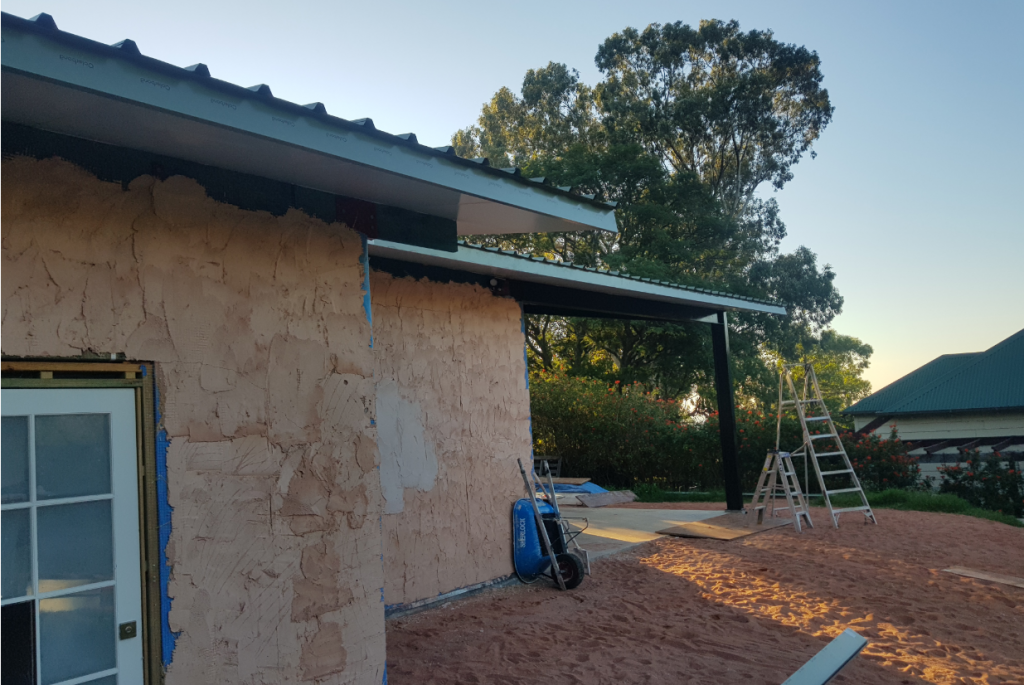
Another damp day’s work got some of the side flashings up too:

which is a vast visual improvement to the shed roof. The side sections are easier, but there’s still a bit of fiddling around to make them meet up cleanly with the fascias.
Aaaaand I think that gets us all nicely caught up. 🙂
omg Paul looks fab