More second-coat rendering on the shed over the long weekend, with one day devoted to helping my sister plant trees, just for something different. Starting to refine my technique a bit – the first day we mostly just added a layer of render, but I’m paying more attention to adding more in the low spots and less in the high spots, and there are plenty of both in the shed walls. I doubt I’ll get them to perfectly-flat, and I don’t think I want to, but smooth-with-a-bit-of-undulation is a lot better than I-can-park-my-beer-in-that-hole.
Anyway, the wet area was particularly bad for a few reasons – it was the first walls we built, and my meshing at the top was….a method I didn’t use again, stapling mesh to the inside face of the beam on the outside of the wall, bringing it along the ceiling and then down onto the bale wall. The unsupported bend at the top of the inside tends to wander around and the inside face bows out very easily making the whole thing very uneven. The second coat gave me a lot of opportunity to even this out now that there’s the solid base of the first coat to work from. I’ve also been paying more attention to the very top of the wall, where it meets the ceiling – this section was always very hard to do with the usual trowel, but I’ve been having a lot of success with a small round-nosed gauging trowel for these fiddly bits.
First day I got most of the wet area walls done – lots of fiddly bits, corners and doors to work around, which all takes a lot more time than just rendering flat (hah!) walls.
Second day I finished off the fiddly bits, spending some time playing with the rounded reveal on the outside door opening. I can see how you can sink a LOT of time into playing with these profiles…I didn’t spend too much (and it shows), but I played with a few ideas to work out the best way of shaping the render around the corners.
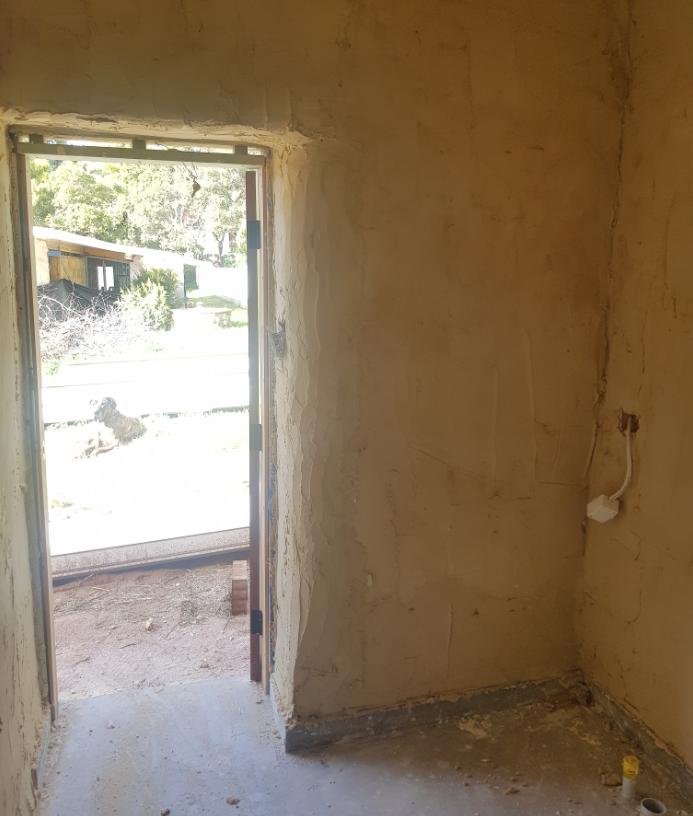
It’s very hard to take photos of a small room that is literally taller than it is wide.

And then some more flat-wall rendering on the back inside wall. For medium-height walls (2-3.5m) I put a bucket of render on top of the platform ladder, to avoid having to climb up and down too much, but the highest bit of these walls under the gable is ~4.3m, which is just too high for me to do safely off the platform ladder with the bucket taking up most of the space. So this is my setup for solo-rendering high areas – the bucket still sits on the platform, but I use a second ladder next to it and just climb up the last two steps.
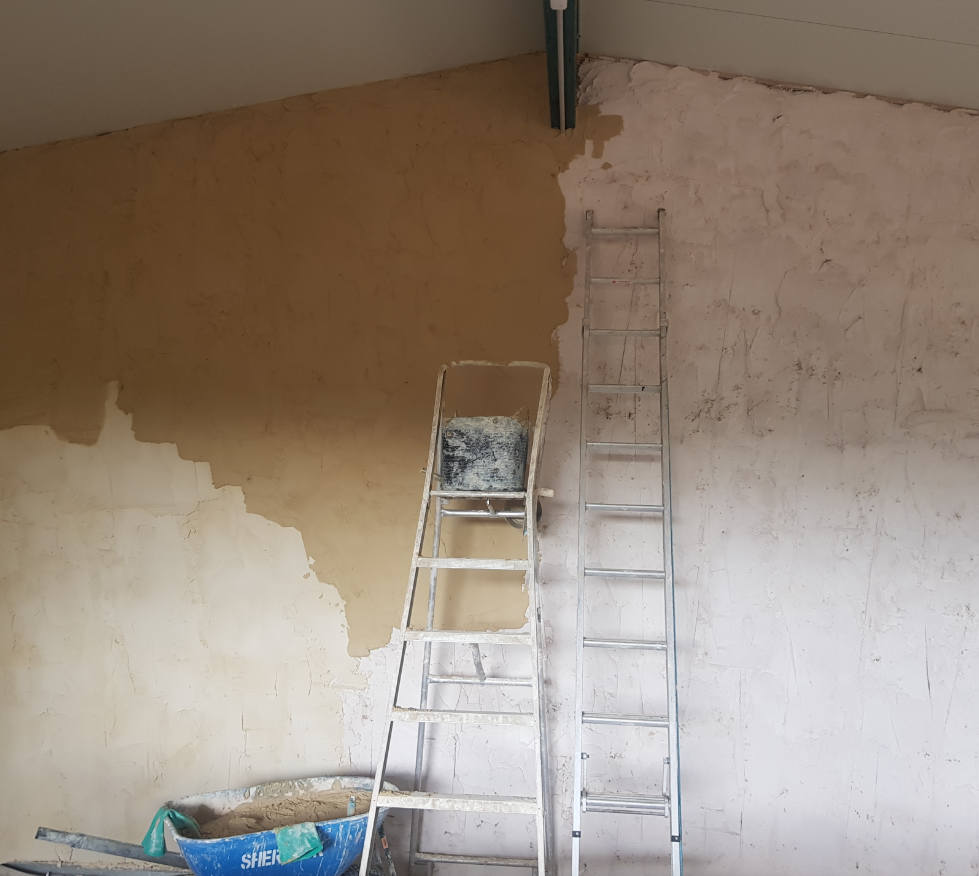
I kinda expected the second ladder to break through the render, but apparently it’s stronger than I thought.
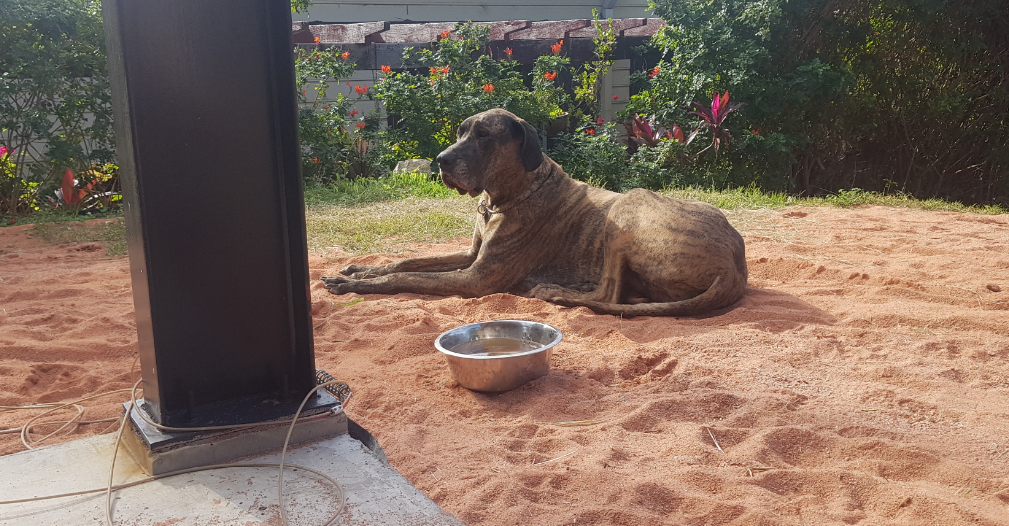
Meanwhile, the supervisor practiced his bored look in between rain showers.