I’ve spent a couple of days experimenting with the final render coat on the inside of the shed – still working towards having it finished inside to get the old shed down.
Started out in the wet area – if the shed is practice for the house, the shed’s wet area seems to be the practice for the shed. 🙂 I’ve never done final coat rendering before, so this was a very slow day working out what techniques worked. I’ve settled, for now, on getting the surface more-or-less level (I’m not a big fan of super-‘wavy’ walls) but with a more textured finish.
It’s still extremely hard to take good photos of the wet area, but here’s an attempt:
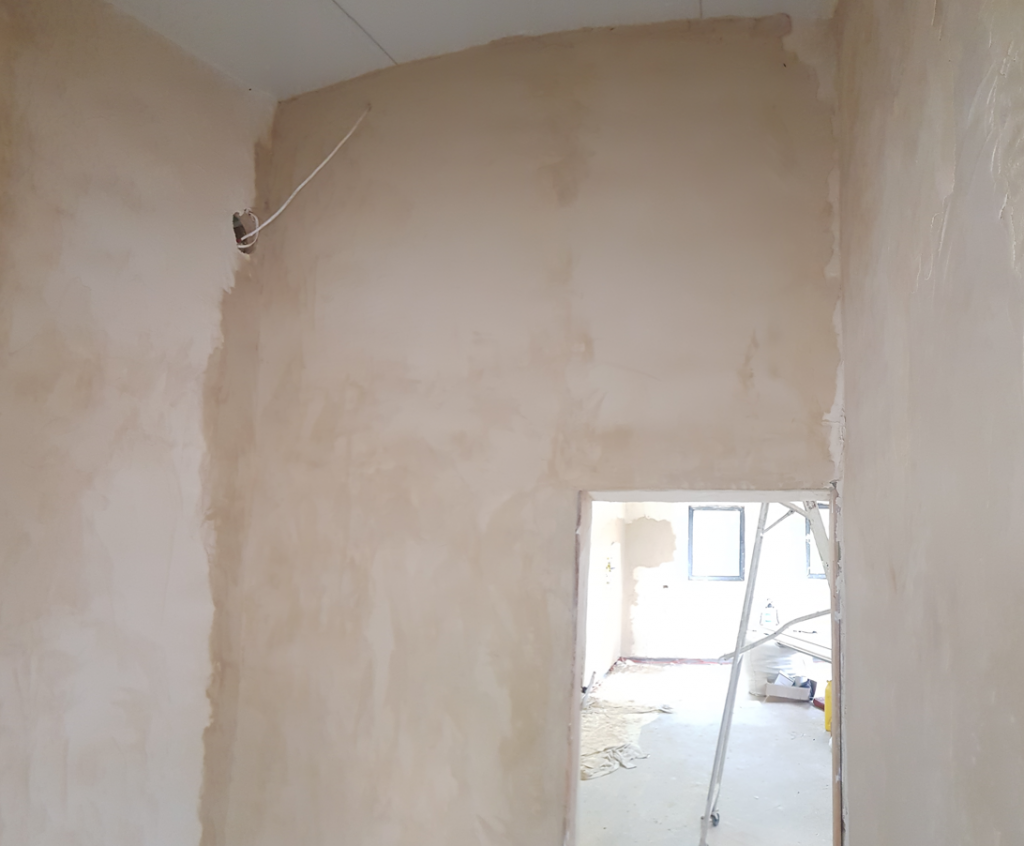
I’m really liking the textured surface – it has a lot of character, without being so rough it’d either gather dirt in crevices or threaten to injure you with a casual brush-past. As with all rendering, I’m getting faster at getting a more consistent result as well.
While I was working on the wet area, my sister got stuck into the reveals around the door to the wet area (keep forgetting to take a photo!) She’s done a gorgeous job on it, much better than anything I’ve managed. Need to find a way to get her back again for more reveals… 🙂
The second day I finished the wet area while J worked on the corner of the shed, then we worked out a great way of working together – one person slaps the render on the wall and does the initial levelling, the other follows behind cleaning up trowel lines and fixing mistakes. This turned out to be MUCH faster – mainly just for the consistency, and not having to switch trowels all the time. We smashed out the back wall of the shed to head height in just a couple of hours:
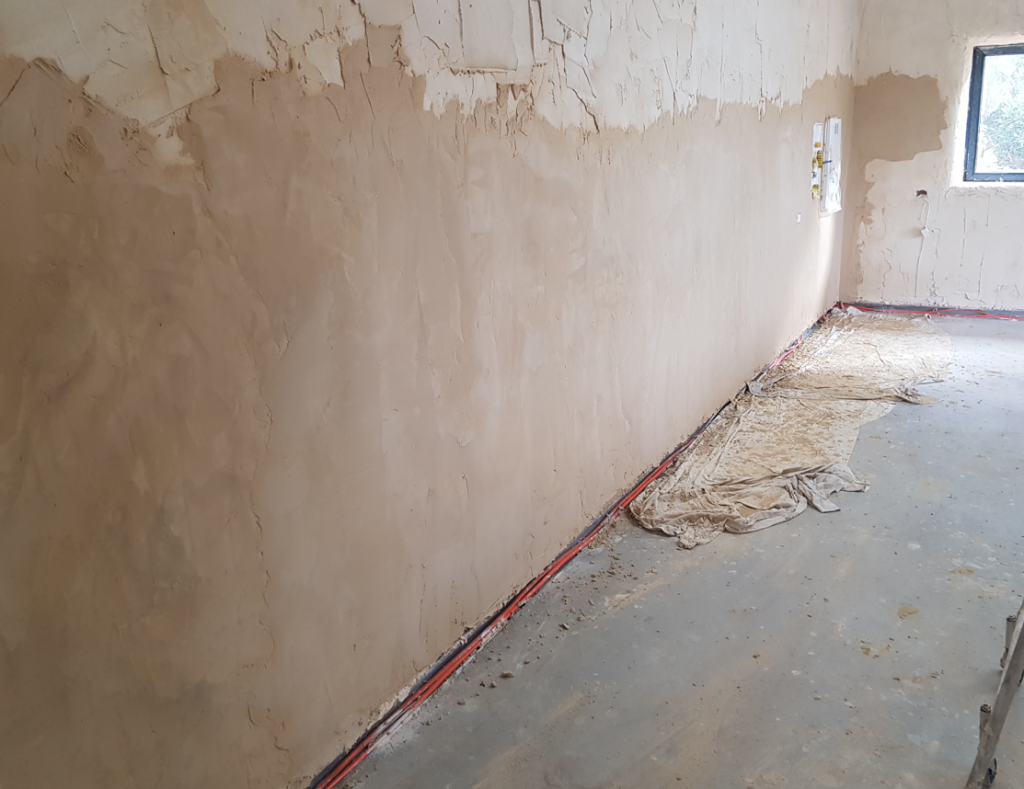
I’ll come back and do the upper section when I’m on my own – this cooperative method doesn’t work very well when there’s only one suitable ladder. 🙂