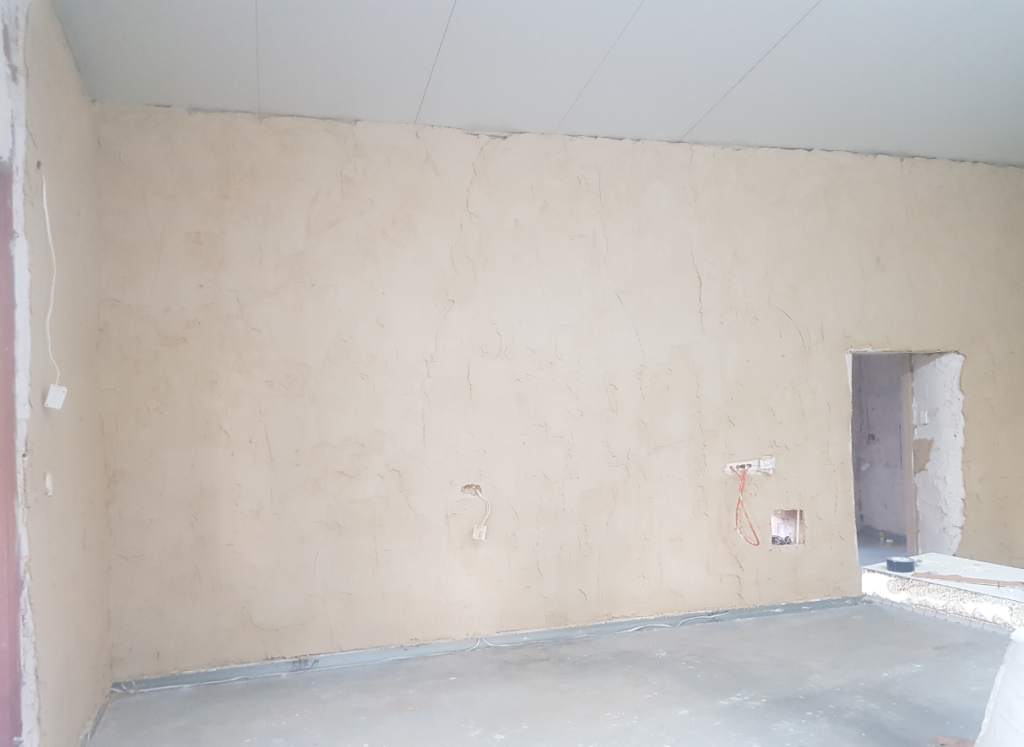
Started work on the second coat of render on the shed, just for something completely different. One of my critical paths (other than “finish the damn house”) is to get the shed in a usable state. The sequence goes something like
- Finish* rendering the shed (* – kinda)
- Retrieve my sea container and all of my woodworking gear to help make the interior of the house
- Pull everything worth saving out of the old shed
- Dismantle the old shed
- Use the old shed’s area as the irrigation area for the ATU
- Commission the ATU, install a loo in the shed and finally get rid of the hire toilet
Since if I don’t finish rendering the inside before getting my woodworking gear out I never will do it, I better do it first. 🙂
I gained an extra pair of hands for the day, with J (another budding bale builder) chipping in a few days on my site to practice his skills and pick my brain before his own build cranks up. Since doing everything the same way is boring, I changed from my existing sand pile, river sand left over from the foundations, to a nice clean pile of plasterer’s sand bought especially for the second coat. It’s interesting how much difference the sand makes – the plasterer’s takes a 1-2 litres less water per batch (despite being kept dry under a tarp), and makes a much more sticky and gloopy render that doesn’t glob up in the mixer. Didn’t cause any problems – noticed the first mix was behaving differently and just didn’t add any more water after the initial bucket-and-a-bit.
The other change was adding a small handful of chopped fibreglass strand to each load as reinforcement – this was only noticeable because it tended to wind itself around the blades of the mixer all the time. >_<
This was actually the first time I’ve ever done second-coat – most workshops focus on baling with a bit of rendering if you have time, and obviously I’ve only been first-coating my own build so far. We immediately noticed just how much easier it is – you’re not fighting the straw, the straw isn’t trying to flick it off the wall or into your face and the whole thing is much more predictable. You can spend more time filling low spots and tweaking the surface without the render threatening to fall off. So J and I smashed out an entire wall and then some, covering ~25% of the whole interior in a very satisfying day.

Changing sand also means a much more traditional render colour, rather than the interesting pink shades I’ve had from the river sand. I’ll be interested to see how this looks as it dries and fades down to its final colour.