Had some extra hands today, with another potential builder offering some labour in return for picking my brain about things. We got rid of a bit of rendering, but the cement mixer decided to split its drive belt (get a spare drive belt before you need one, people!) so I took advantage of the bonus hands to install the front and laundry doors.
The frames themselves were pretty simple, being more or less rectangular, but hanging the door sashes was quite entertaining. Figured it was easier to install the glass into the sash before hanging them (which was true) but it did make the sashes quite heavy and cumbersome.
The mounting system was also a set of four pin-hinges, which all had to be lined up at once with the sash out on a 45° angle to clear the frame, and then drop the sash onto the hinges – this is why I wanted to do it with three people! The method we came up with was to rest the sash on a piece of timber positioned to allow one person to lever the door up without taking the entire weight, while the other two people steered it onto the hinges. Actually worked pretty well, but had a high potential for error and definitely was not a two-person job.
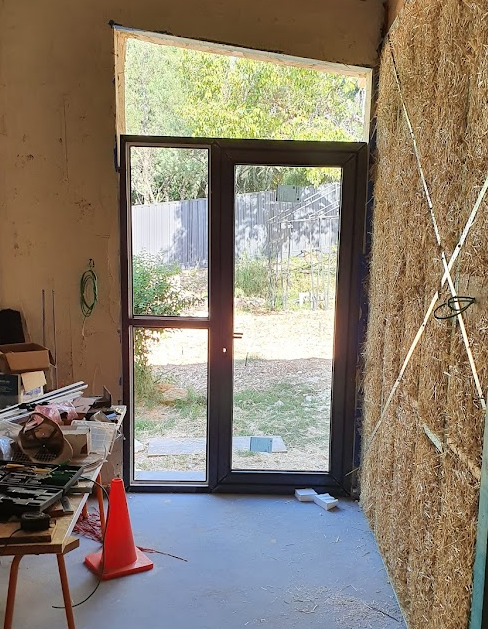
The upper part of this door came separately for some reason – maybe there was a maximum size for this type of frame? Not actually sure how I’m going to join the two parts together, there’s no obvious connection method….
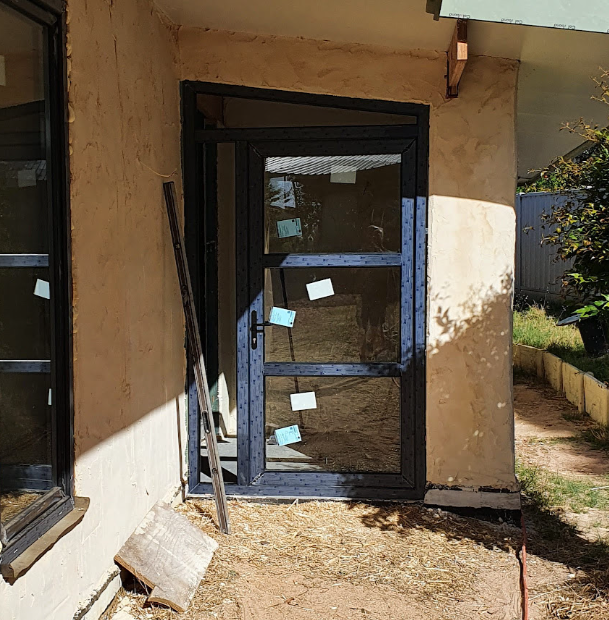
This one came as a single piece.
Update – attaching the top laundry frame
I used the tried-and-true method for finding ways to attach things – go to Bunnings, wander down the “screws” aisle to the “random” section full of small packets of all sorts of wonderful things and see what pops up.
In this case it was a pack of “security” bolts:
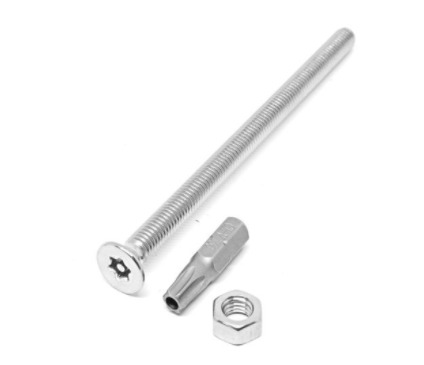
I didn’t need the “security” part at all, but what I needed was the chamfered head (that I could countersink into one frame) and a low-profile nut that I could hide under the glass. Because a couple of the screw points were in the frame of the laundry door itself, I didn’t have much/any clearance to play with there.
Clamped the extra bit of frame in place, drilled up through both frames, countersunk the lower frame holes, filled the join with silicone and tightened everything up, with some pieces of timber clamped on both sides to keep the frames in alignment. A couple of spacers below the glass for the top unit kept the glass clear of the nuts.
It all….worked surprisingly well, confirming that the answer to everything is hidden in an obscure section of Bunnings. 🙂