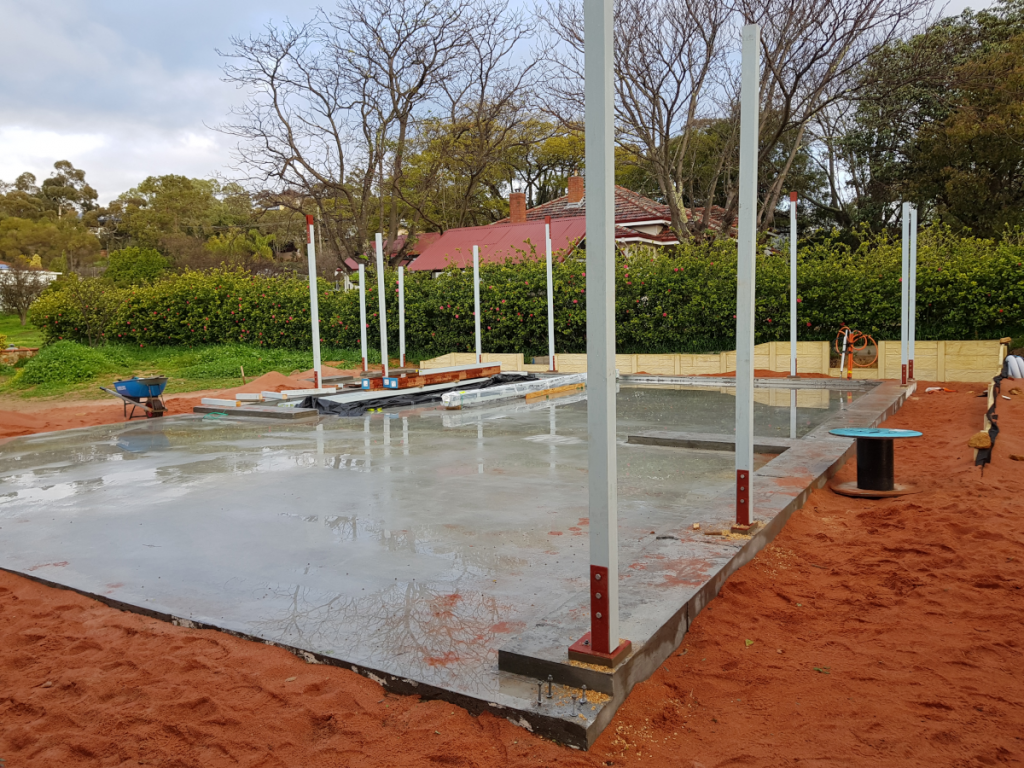
Armed with a pile of timber and a ute full of brackets, it was time to attack the shed framing. Figured I’d start with the posts mounted on the big brackets I’d put in place the other day and set up the cross-bracing – also I don’t have the post supports for all the other posts until Monday, so I can’t do them anyway. 🙂
So anyway, normal people would build normal houses where all the posts are the same length. Between the different top brackets, bottom brackets, pitched roof and everything else, I think there’s….about four posts the same length out of the 25-odd in the whole structure. But…I have Sketchup. I don’t know how other people do this, but I do it like this
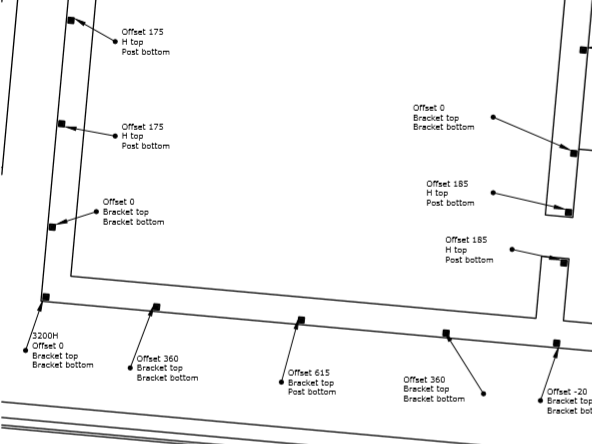
Using the post in the bottom left corner as the benchmark, I measured the top of each column in my model and recorded the offset from that first post. I also recorded what the top & bottom of the post was. Then I could put that post in, use the laser to measure the base of each bracket to see if there was any discrepancy there, calculate the length of the next post (based on the first post, the offset and the bracket) and away we go.
There was also the fun of drilling the bolt holes through the posts – the brackets have holes on both sides of the post, but free-handing your way through a 90mm post to hit another hole is a recipe for a bad day. If I could have found anyone with a drill block in stock I would have bought one, so instead I made one from a bunch of other brackets:
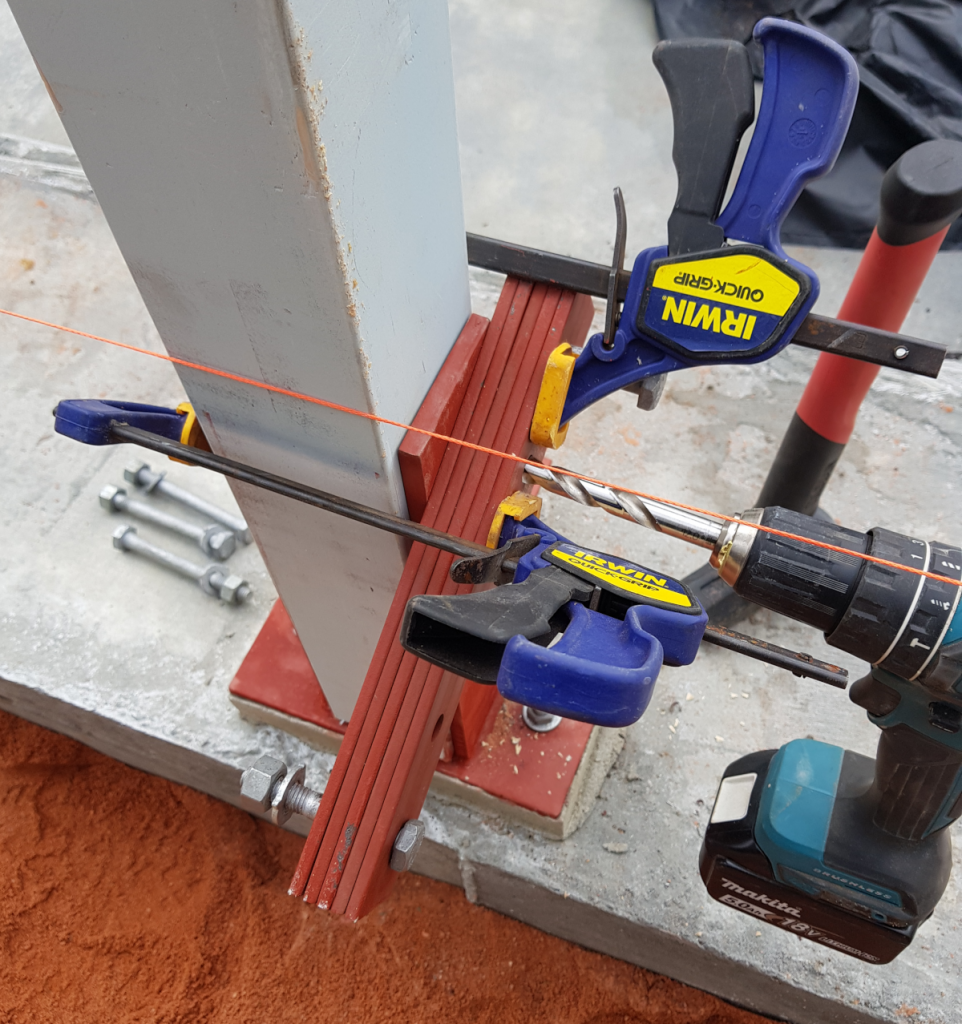
The block of five pieces are simple brackets with holes already drilled in them. Stacked them up, added a couple of bolts to keep them in alignment, clamped them to the side of the bracket and voila – drill alignment block.
Completely unrelated – I think the drill bit snapped shortly after that shot, nothing to do with me leaving the drill dangling from it while taking photos… 🙂
After I’d done a few posts, I could check whether the tops were aligning properly with the slope of the roof: (zoomed-in photo, offset a bit so you can see each post)
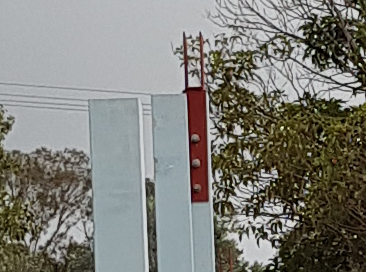
Looking good.
I could also get an idea of the size of the shed, once I’d done the back wall:
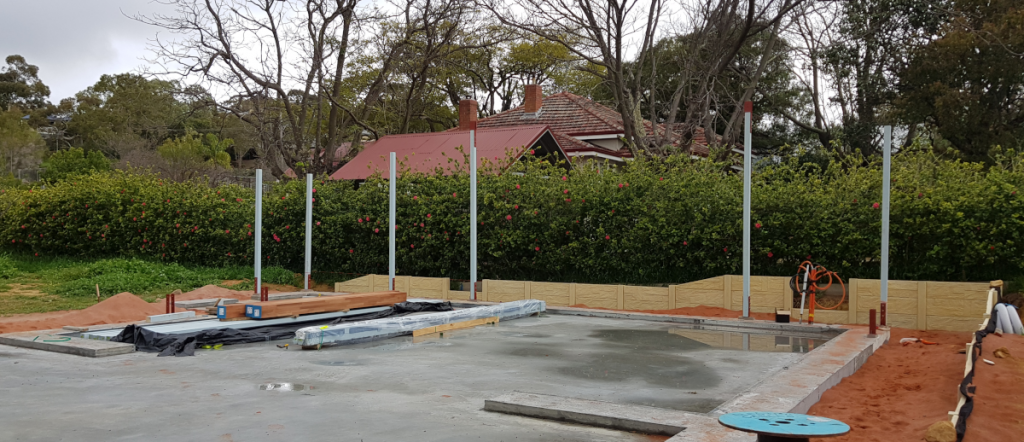
(the center post will go in later) and a few hours, and a few showers, later, all the posts were done: