My sparkie had some….residual unhappiness….about wiring the house roof panels – I’d avoided this in the shed by simply not having any lights mounted in the roof panels.
Apparently in the past when working with SIPs he’d done the wiring as the panels were being put up, which seems…overly difficult, and would also slow down the install significantly as you muck around with each panel (all while working up ladders, of course). So out came my 3d model to work out where each light needed to be, and on what panel it should go. When we moved the panels down to the slab, we put the ones that needed to be wired out on their own, and stacked the rest.
A couple of hours with a measuring tape and I had all the panels marked up. The sparkies allocated two whole days for two people for the wiring, which I think assumed they would have to do all this calculation and marking up – instead they rocked up to find all the marking done, and we spent an easy 4 hours drilling extremely long holes through the foam cores.
The panels all have a channel cut down one side of the core to run wires, which would be great if all of your fixtures were on that side of the panel….but of course mine aren’t. Out with my favourite new toy, a 1m-long drill bit:
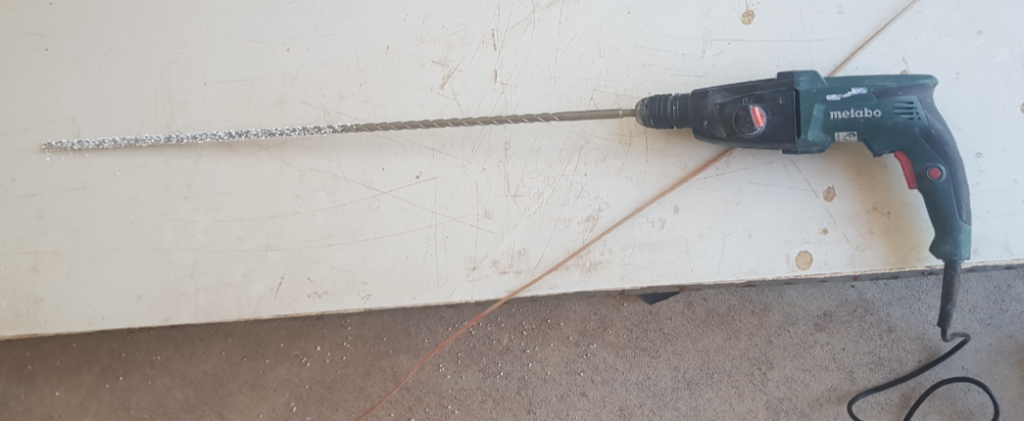
It’s actually a masonry bit, but unsurprisingly it makes short work of polystyrene foam.
Getting the alignment right to hit a 20mm hole from 1m away took some practice, but we got close enough to feed the wires through and then down the side of the panels:
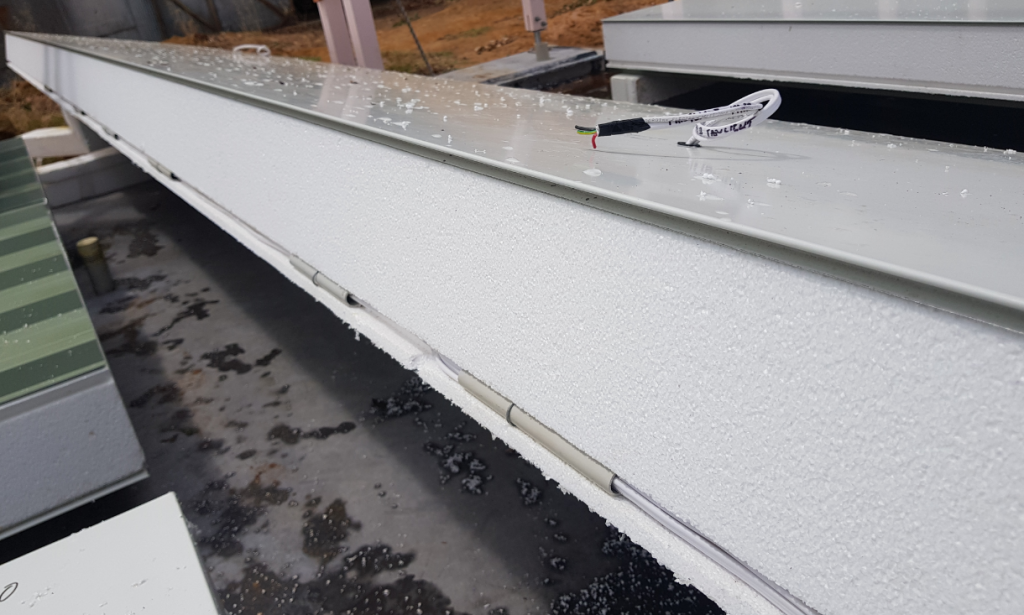
…and then back out inside the wall at the bottom of the panel.